
 Sep
17
Sep
17
DIY Tile Grout Repair Kit: Fix & Restore Grout 2026
- September 17, 2026
- 0 Comment(s)
Table of Contents
- What a DIY Tile Grout Repair Kit Actually Fixes
- How to Fix Cracked Grout Without Replacing Tile
- Cleaning Tile Grout Before Repair: Why Prep Decides the Result
- Grout Repair vs Regrouting: Which One Saves You Money?
- Choosing the Right Grout Repair Kit for Your Project
- Step-by-Step: Applying Your Grout Repair Kit
- Troubleshooting Failed Repairs and Safety Considerations
- Frequently Asked Questions
Last Updated: September 16, 2026
What a DIY Tile Grout Repair Kit Actually Fixes
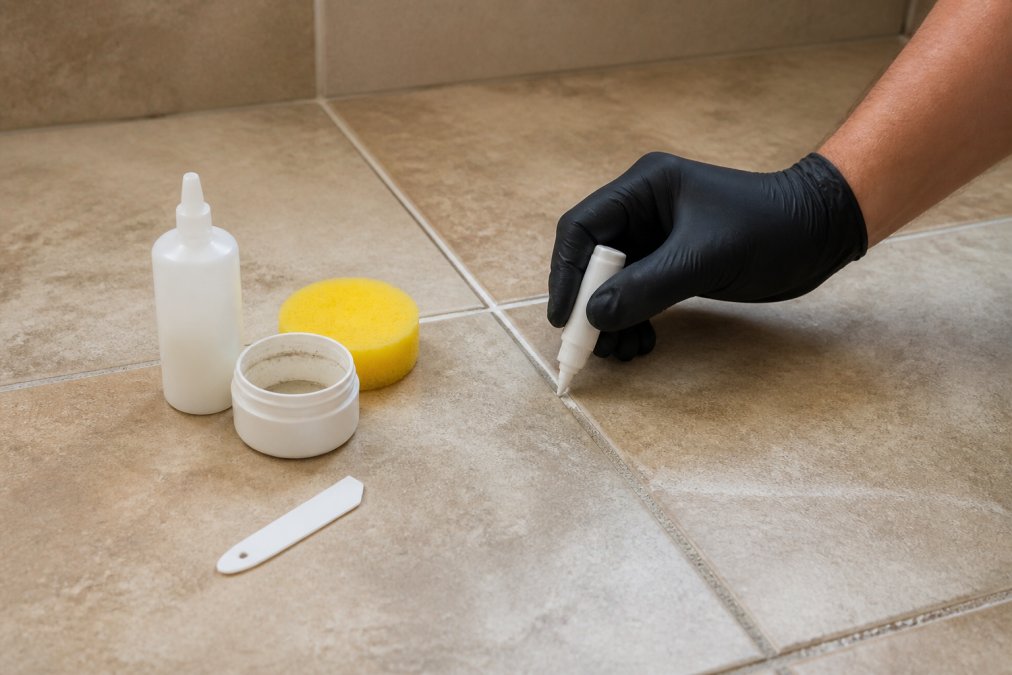
A DIY tile grout repair kit is a packaged system of cleaners, patching compounds, colorants, and applicators designed to restore existing grout lines without removing tile. This guide from Grout Shield Distributors breaks down what each kit can fix, what it cannot, and how to choose one.
Match the kit to the failure type before you buy. Cracks and discoloration are not the same repair, and no single product handles both well.
Cracked vs. Discolored Grout: Different Problems, Different Fixes
Cracked grout is a structural failure: the joint has lost material, usually from settling, thermal movement, or a thin mix during the original install. Fill the void with a patching compound, or caulk at movement joints, then match the surrounding color.
How to Fix Cracked Grout Without Replacing Tile
To fix cracked grout without replacing tile, dig out the loose material, clean the joint, and refill it with a matching patching compound or grout. The tile stays in place; only the joint is rebuilt. This is the core promise of a DIY tile grout repair kit, and it works when the crack is shallow and the surrounding grout is sound.
Here is the sequence that holds up:
- Remove all loose grout with a grout saw or oscillating multi-tool
- Vacuum the joint and wipe with a damp sponge
- Let the joint dry completely
- Pack in patching compound with a small spatula or applicator
- Tool the joint to match the surrounding profile
- Let it cure, then seal
Cleaning Tile Grout Before Repair: Why Prep Decides the Result
Cleaning tile grout before repair determines whether your new colorant or sealer bonds. Any grease, soap scum, mold, or dust left in the joint becomes a barrier, and the repair fails early.
Tools and Surface Preparation Techniques That Matter
Surface preparation techniques vary by grout condition, but the goal is always a clean, dry, slightly roughened joint.
- Grout saw or multi-tool: opens cracks and removes failing material
- Stiff nylon brush: scrubs joints without scratching ceramic tile
- Grout cleaner: breaks down grease, soap scum, and mildew
- Wet/dry vacuum: pulls out loosened debris and dust
- Applicator or spatula: controls product placement
- Clean water and sponges: removes grout haze before it sets
Applying colorant or sealer over damp grout is the most common cause of peeling repairs. If the joint feels cool or looks darker than the surrounding tile, it is still wet. Wait.
Grout Repair vs Regrouting: Which One Saves You Money?
Grout repair costs a fraction of regrouting because it works with the tile you already have. Regrouting means removing the old grout across the entire floor or wall, then refilling every joint, hours of labor per room, with a risk of chipping tile edges.
| Situation | Best Approach | Why |
|---|---|---|
| A few cracked joints | Patching compound | Targeted, low cost |
| Stained or faded grout, sound tile | Cleaner plus color sealer | Recolors in place |
| Mildew in isolated areas | Deep clean, then seal | Removes cause, protects joint |
| Grout crumbling throughout | Regrouting | Surface repair will not hold |
Choosing the Right Grout Repair Kit for Your Project
Choose a grout repair kit based on four things: the failure type, the grout profile, the substrate, and the color match. Most DIYers get the first two right and lose the job on the last two. A kit built for sanded joints will not sit right on unsanded grout, and a colorant meant for ceramic tile may not bond to porcelain or natural stone the same way.
Color Matching Methodology: How to Get a Seamless Blend
Color matching is a critical step, and a common reason a repair might not look seamless. A color chip on a box rarely matches grout aged under years of light, foot traffic, and cleaning products. Here is a method that can help:
- Clean a test joint first. Aged grout is darker than its original color because of embedded soil. Match against clean grout, not dirty grout, or your repair will look lighter than the surrounding lines once everything cures.
- Sample in an inconspicuous joint. Pick a corner, a joint behind an appliance, or a closet threshold. Apply the product, tool it, and let it cure for the full cure window, not just until it feels dry.
- Judge in daylight, not indoor light. Cured color reads differently than wet product, and incandescent or LED lighting shifts warm and cool tones. Compare the sample to the surrounding grout in natural daylight at the same angle you normally view the floor.
- Check the match wet and dry. Some colorants darken as they cure; others lighten. If the wet match is perfect but the cured match is off, you need a different shade, not a thicker coat.
- Buy extra of the same batch. Dye lots vary. If you run short mid-project and reorder, the second batch may not match the first, and the seam will show.
Substrate Compatibility: Which Kits Work on Which Tile
Substrate compatibility is the gap most guides skip, and where a technically correct repair still fails. The kit has to bond to the grout and survive contact with the tile edge and surrounding conditions.
Place An Order Online or Call 1-800-631-0716 →
- Ceramic tile: The most forgiving substrate. Most cement-based patching compounds and color sealers bond well, provided the joint is clean and dry.
- Porcelain tile: Denser and less porous than ceramic, so it sheds water rather than absorbing it. Color sealers still work, but you must remove every trace of grout haze and sealer residue from the tile face, or it cures as a visible film.
- Natural stone (marble, travertine, slate): The most restrictive substrate. Many acidic grout cleaners will etch or dull the stone surface, and some colorants can stain the stone face permanently. Use a pH-neutral cleaner and a sealer formulated for stone, and always test in an inconspicuous area first.
- Glass tile: Do not use abrasive grout saws or stiff metal brushes. Use a nylon brush and a non-scratching applicator, and confirm the colorant is rated for glass before applying.
Sample your color in a corner joint and let it cure for a full day before judging the match. Cured color reads differently than wet product, and daylight reveals shifts that indoor lighting hides.
Step-by-Step: Applying Your Grout Repair Kit
Applying a grout repair kit comes down to six steps: prep, clean, dry, apply, cure, and seal. Get the order right and the repair lasts; rush any stage and you will redo it.
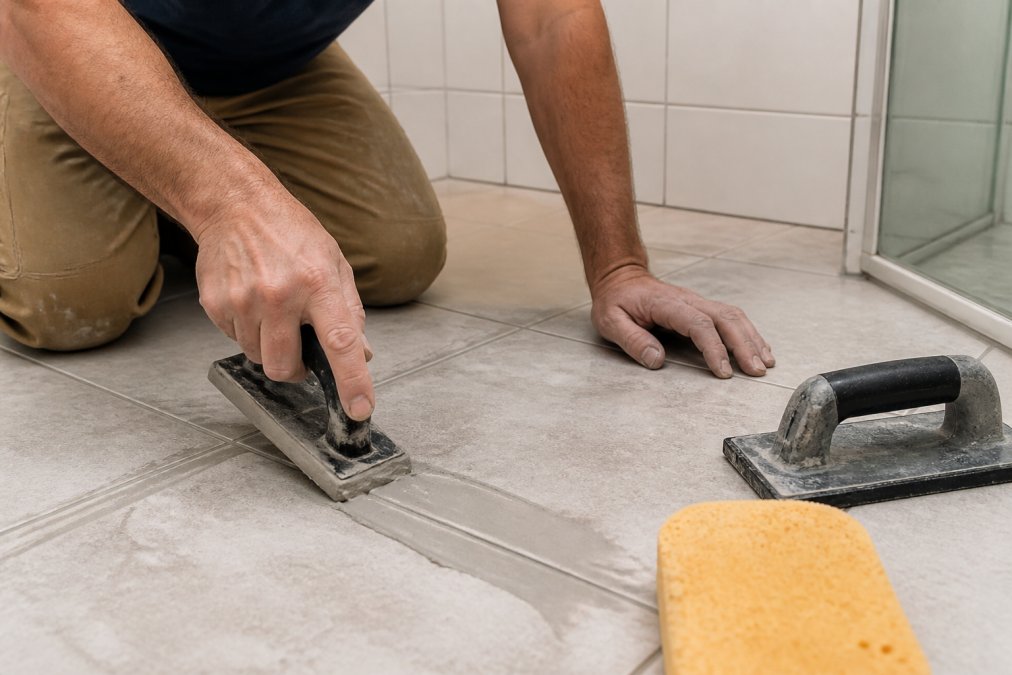
- Prep the joint. Remove loose grout and debris with a grout saw or multi-tool.
- Clean the grout. Apply grout cleaner, scrub with a stiff brush, and rinse.
- Let it dry. Wait until the joint is fully dry to the touch.
- Apply the product. Use an applicator or spatula to work colorant or patching compound into the joint.
- Remove grout haze. Wipe the tile surface with a damp sponge before residue sets.
- Cure and seal. Follow the kit’s curing time, then apply a sealer for stain resistance.
Drying, Curing Time, and Sealing
Curing time is not the same as dry time. A colorant may feel dry in an hour but still need a full day to cure before it can take foot traffic or moisture. Follow the kit’s stated cure window exactly.
Troubleshooting Failed Repairs and Safety Considerations
Failed repairs usually trace back to one of four causes: poor prep, damp grout, a product mismatch, or a skipped sealer. Diagnosing which one you hit is the difference between fixing the repair and repeating it.
Why Grout Repairs Fail, and How to Fix a Botched Job
The colorant peeled or flaked off. The joint was dirty, damp, or sealed with something incompatible underneath. Colorant bonds to grout, not to old sealer, grease, or soap scum. Fix: strip the failed colorant with a grout cleaner and a stiff nylon brush, let the joint dry completely, a full day in a bathroom is not unusual, then reapply. If the joint was previously sealed with a penetrating sealer, the colorant may never bond; strip it back further before recoating.
If a repair has failed twice in the same joint, stop reapplying the same product. The failure is almost always a diagnosis problem, movement, moisture, or a contaminated substrate, not an application problem.
Safety and VOCs: What to Know Before You Open the Container
Grout cleaners and sealers are not inert. Many contain solvents, acids, or biocides that irritate skin, eyes, and lungs, and some release volatile organic compounds (VOCs) that linger indoors after the container is closed. The Environmental Protection Agency regulates VOC content in consumer products and maintains indoor air quality guidance, and the Occupational Safety and Health Administration sets workplace exposure limits for the solvents common in these products.
- Ventilate. Open a window and run a fan. A closed bathroom with a solvent-based sealer is the worst-case scenario.
- Wear gloves and eye protection. Nitrile gloves, not latex, for solvent-based products.
- Keep kids and pets out of the room until surfaces are dry and the cure window has passed, not just until the smell fades.
- Read the label for the VOC rating. Low-VOC and water-based sealers are widely available and are the better choice for occupied homes, especially in rooms without strong ventilation.
- Never mix cleaning products. Combining an acid-based grout cleaner with a bleach-based product can release dangerous gas (the CDC).
Frequently Asked Questions
Do grout repair kits actually work?
Yes, when the grout is structurally sound and the issue is cosmetic. A DIY tile grout repair kit works well for cracked, stained, or discolored grout lines in ceramic and porcelain tile. The kit fills cracks, restores color, and seals the joint. Results last longer when you clean thoroughly first, match the color correctly, and let the product cure fully before exposing it to water or heavy foot traffic.
Can you put new grout over old grout?
You can apply a grout repair kit or grout colorant over old grout, but not fresh cement-based grout on top of failing grout. The old grout must be clean, dry, and free of loose material. Scrape out crumbling sections to a consistent joint depth before applying patching compound or premixed grout. If the old grout is soft or hollow, remove it first or the new layer will fail within months.
How long does grout repair last?
A properly applied grout repair kit typically lasts several years, depending on traffic, moisture, and whether you seal it afterward. Bathroom floors and shower walls see more moisture, so resealing every 12 to 18 months helps. Kitchens and low-traffic areas may hold up longer. Using a color sealer after repair adds stain resistance and extends the life of the fix.
Is a grout repair kit safe to use around kids and pets?
Safety depends on the formula. Many modern kits are water-based and low-VOC, which reduces fumes during application. Check the label for VOC content and ventilation instructions. Keep children and pets out of the room until the product is fully cured, usually 24 to 72 hours. If you are sensitive to chemicals, choose a water-based option and open windows or run a fan while working.